Creating an ASP.NET Core Web API Project
Last updated: September 2024
This tutorial shows how to create an ASP.NET Core Web API application using the manually-coded project in SnapDevelop.
If you want to create an ASP.NET Core Web API application using the Visual Studio extension -- EF Core Sidekick, refer to Create a Web API Using EF Core Sidekick.
If you want to create an ASP.NET Core Web API application using the visual designer project, refer to Create a Web API Designer Project.
In this tutorial, you will learn how to:
- Create a Web API project
- Run the Web API
- Test the Web API
- Call the Web API from Vue.js frontend
Prerequisites
Installing components
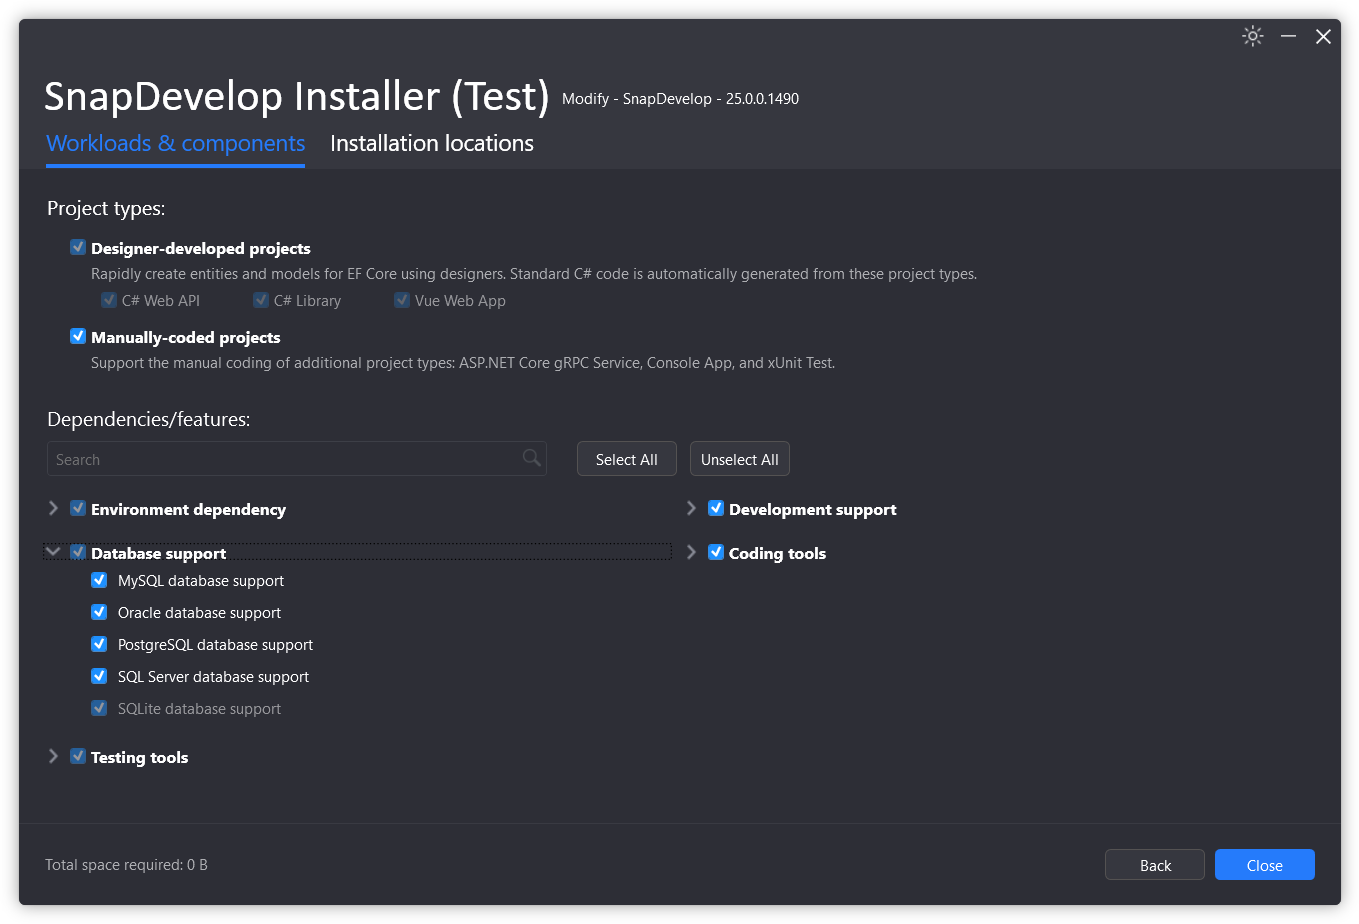
When installing SnapDevelop 2025, make sure the following jobs/components are selected for installation:
Manually-coded projects is selected and installed.
The database support under the Database support category is required. Make sure the corresponding database type is selected and installed. In this tutorial, a SQL Server database will be used, so check SQL Server database support.
Installing the sample database
To install the sample database used in this tutorial, follow these steps:
Step 1: Install SQL Server Express or SQL Server 2012 or later.
Step 2: Download the database backup file AdventureWorks for sqlserver.zip from https://github.com/SnapDevelop/.NET-Project-Example-Database.
Step 3: Restore the database using the downloaded database backup file.
Please refer to the README on how to restore the database.
Configuring the network environment
The projects used in this tutorial need to download the required dependency packages from NuGet and NPM sites (the Web API project needs to connect to the NuGet site, and the Vue.js project needs to connect to the NPM site), so make sure the current machine can connect to the Internet.
If you are connecting to the Internet through a proxy, first make sure that the proxy is working properly and that NuGet and NPM sites are not excluded from the exception list. If the network connection is working normally, but SnapDevelop still prompts a network connection error, please restart the SnapDevelop IDE and then try again.
Creating a Web API project
Step 1: Select Create New Project from the Welcome screen of the SnapDevelop IDE, or select File > New > New Project from the IDE menu.
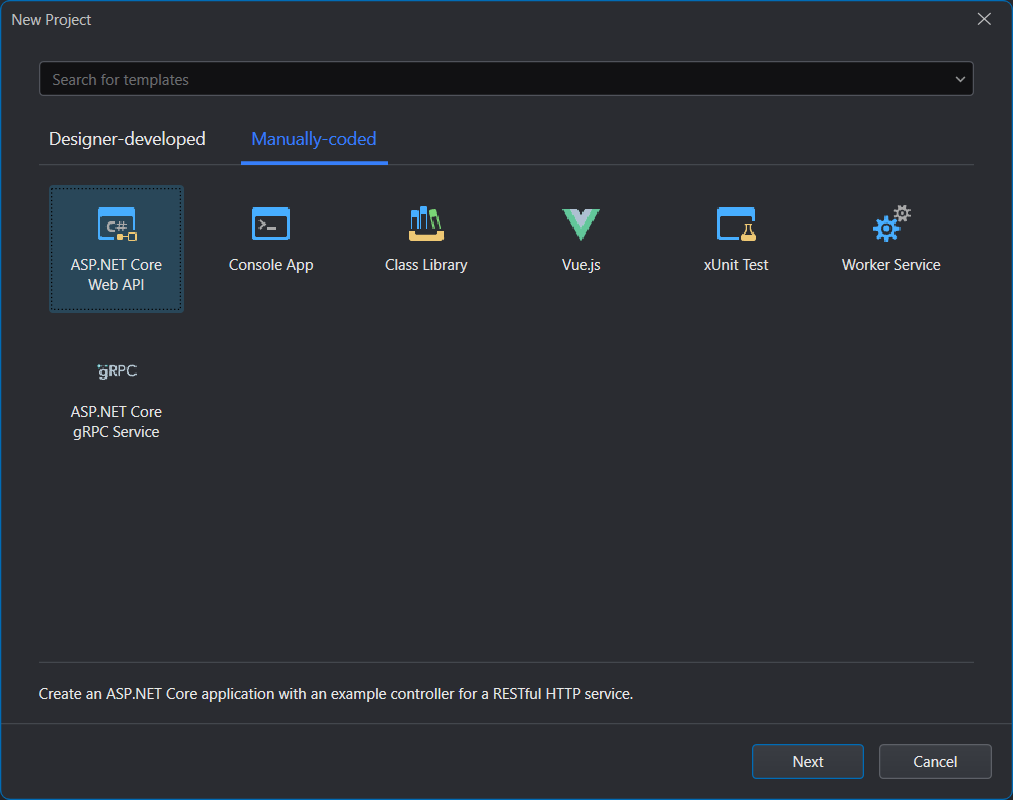
Step 2: In the New Project dialog box, select the Manually-code tab, and then select ASP.NET Core Web API from the template list, and click Next.
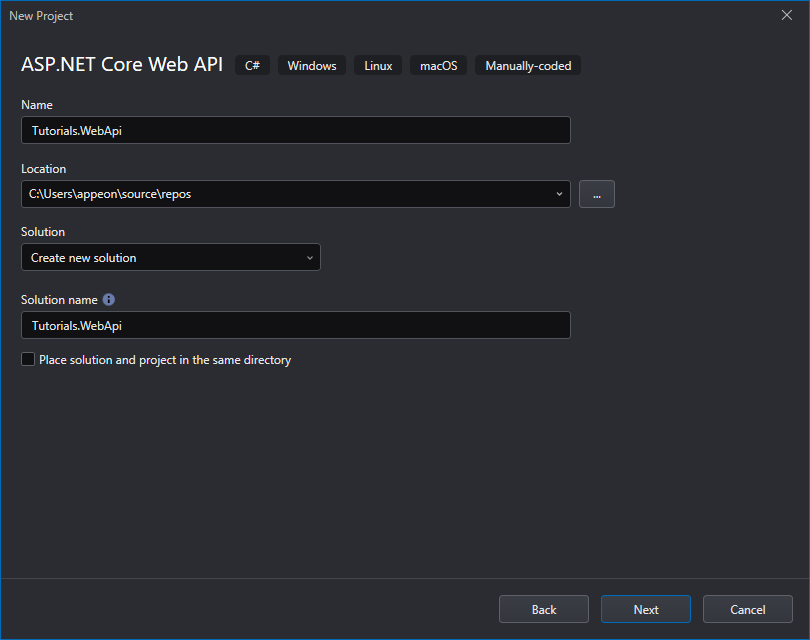
Step 3: Specify the project name as Tutorials.WebApi and click Next.
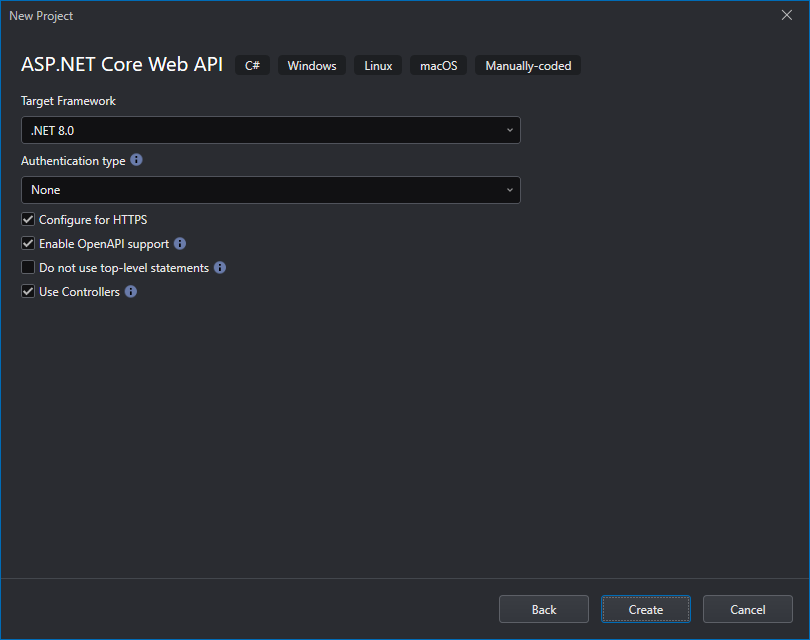
Step 4: Use the default settings and click Create.
If you have changed the settings on this screen, they will be used as default settings for the next project.
Type -- This option is hidden, because currently only Basic type is supported.
Target Framework -- The .NET version the project is targeting. Although only the latest frameworks are listed here (because it is recommended to use the latest framework when creating a project), SnapDevelop is compatible with projects of different frameworks. Multiple projects in the same solution can target different .NET versions. After the project is created, the target framework can be modified in the project properties page.
Authentication Type -- The authentication method to use in the application.
Configure for HTTPS -- When this option is enabled, an HTTPS URL and port will be automatically assigned to the Web API service. You can change the HTTPS URL and port in your project's launchSettings.json file.
Enable Docker -- When this option is enabled, the files and configurations required for Docker support will be automatically added to the project.
Docker OS -- The operating system of the Docker runtime environment: Windows or Linux.
Use Controllers -- When this option is enabled, the controller will be generated automatically, otherwise the controller will not be generated.
Enable OpenAPI support -- When this option is enabled, the Swagger UI generator will be automatically added to the Program.cs file in the project, and the middleware will be downloaded and enabled so that you can access the Swagger UI page to try out the API directly during the development phase.
A template API is created from the project template. The Web API project contains the following folders and files by default. This project does not connect with a database, it mocks some data for testing purpose.
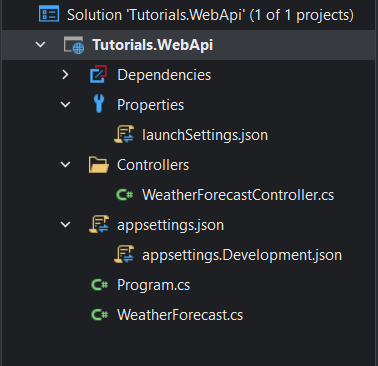
Running the Web API
Let's run the Web API and see what APIs it provides.
Press Ctrl + F5 in the SnapDevelop IDE (or click the Start Without Debugging icon in the toolbar). SnapDevelop will compile the Web API project, start the Web API service, and display the Web API's Swagger UI in the browser. You can use the Enable OpenAPI Support option to decide whether to generate Swagger UI pages during the process of creating a Web API project. Swagger is commonly used to generate documentation and help pages for Web APIs. For more information on Swagger, please refer to https://swagger.io/.
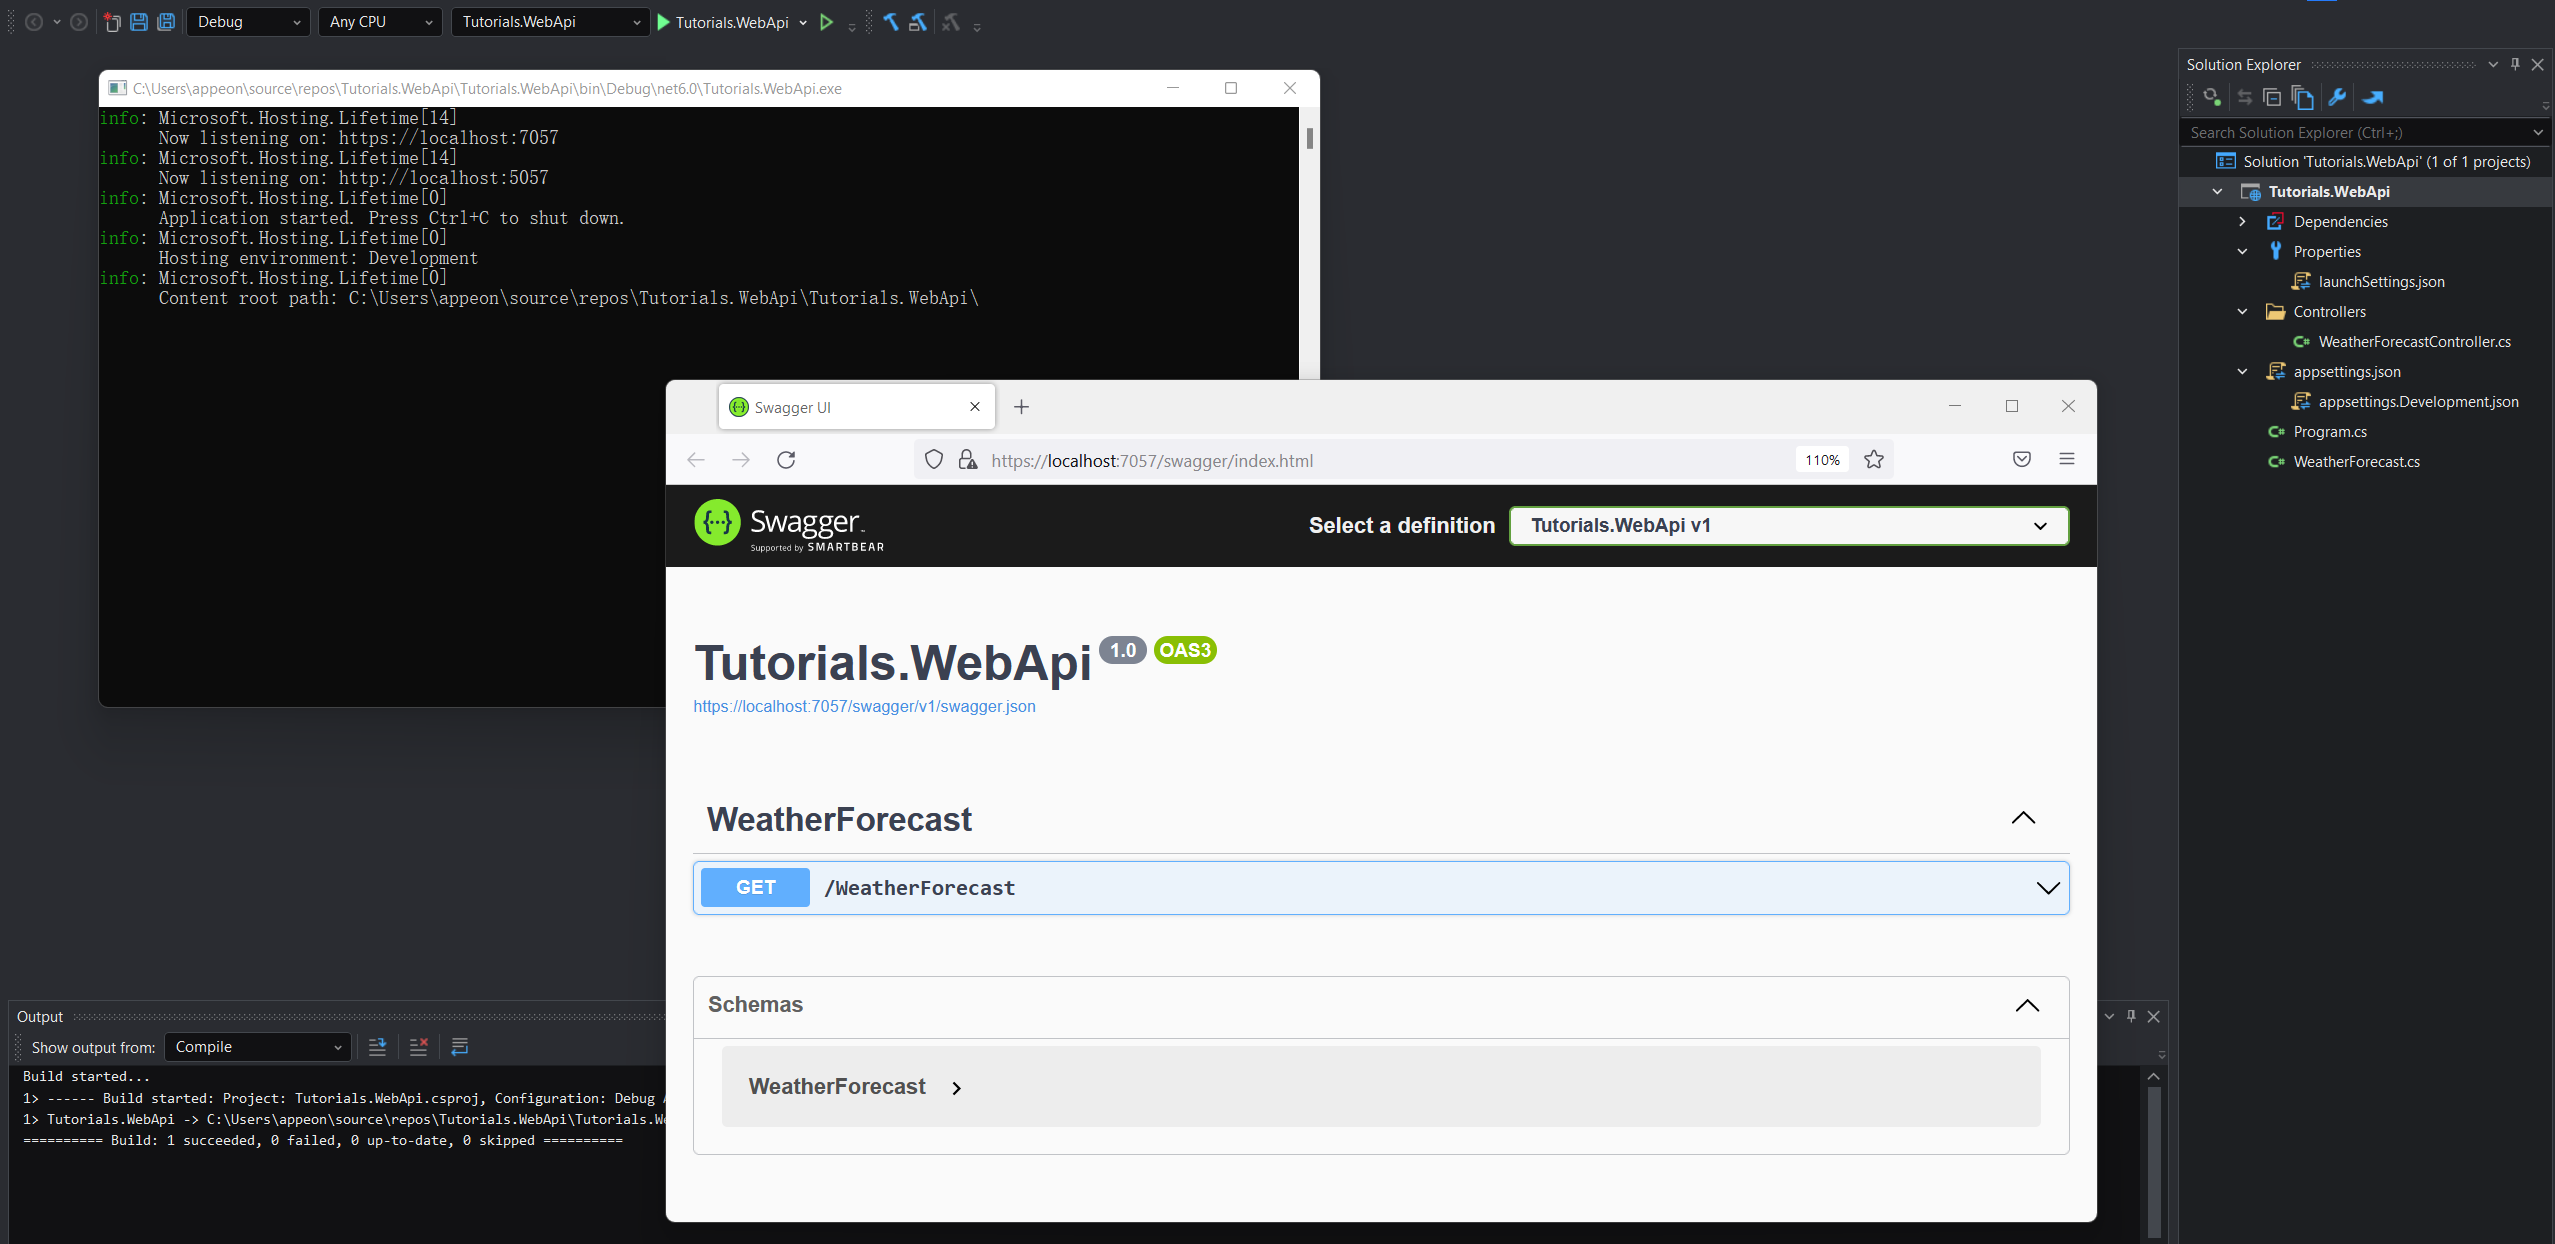
The Swagger UI shows all the available APIs in the current Web API project. You can expand and try out each API (click Try it Out).
For example, expand the GET/WeatherForcast API, click the Try it Out button, and then click the Execute button. You will see weather forecast for five days. Notice that these data are mock data; and they are not from the database.
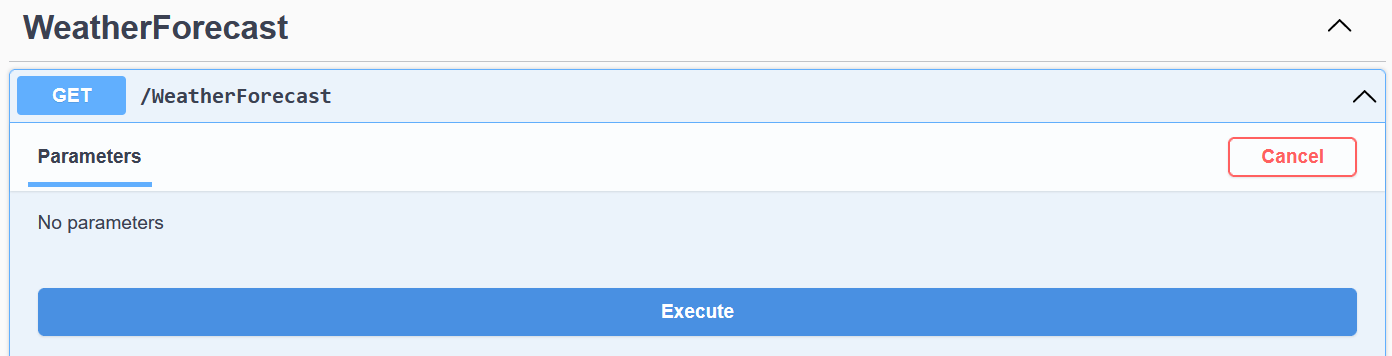
The page will return:
- The Curl commands for testing this API.
- The request URL for testing the API.
- HTTP response status code, body and headers.
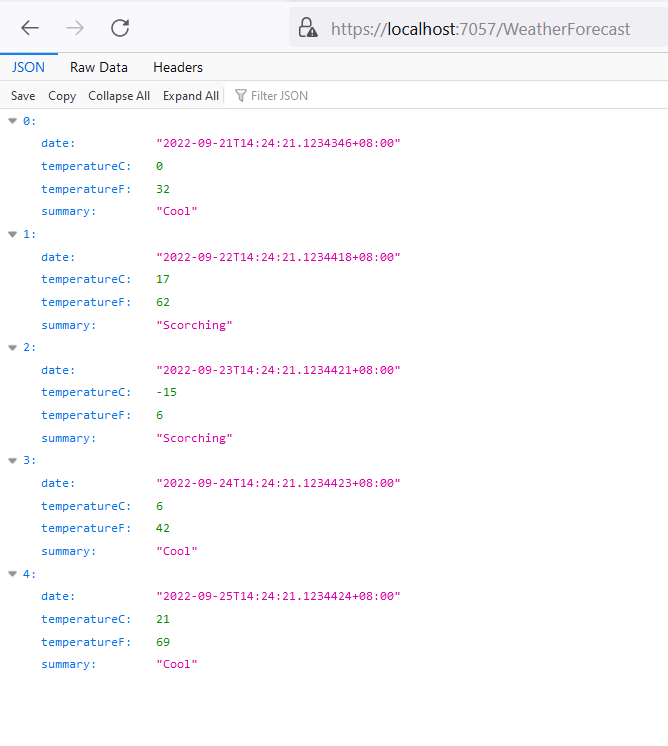
If you enter the API URL in your web browser, for example, https://localhost:7057/WeatherForecast. The page will return a JSON string like the following.
Testing the Web API
Select Web API Tester from the Test menu.
In the Web API Tester, expand the list of tests and double-click the Get() method. Click Send on the right. The returned data is displayed in the JSON string format in the Body panel.

For more information on Web API Tester, visit the tutorial Testing with Web API Tester.
Calling the Web API from the Vue.js frontend
In this section, we will create a Vue.js front-end application to access the Web API and make a simple data query.
Creating a Vue project
Please follow instructions in Creating a Vue Project to create a Vue3 type project. Suppose the project is named client.
Modifying the Vue project
Next, we will modify the Vue project to make a simple data query by calling the Web API.
Installing HTTP request library
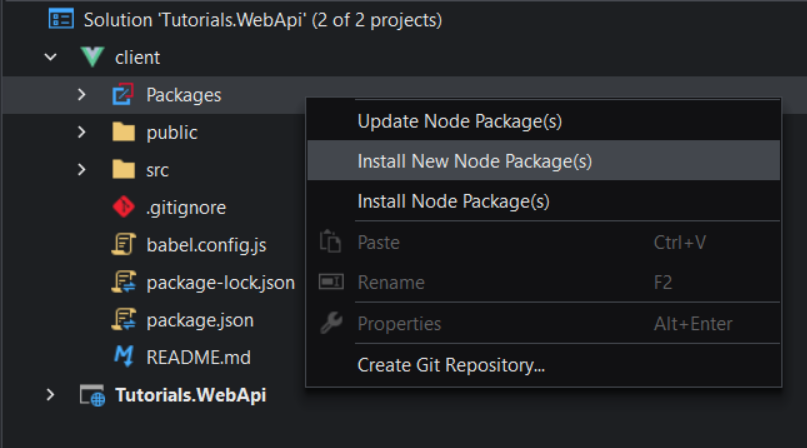
Right-click the Packages node in the Vue project in Solution Explorer and select Install New Node Package(s).
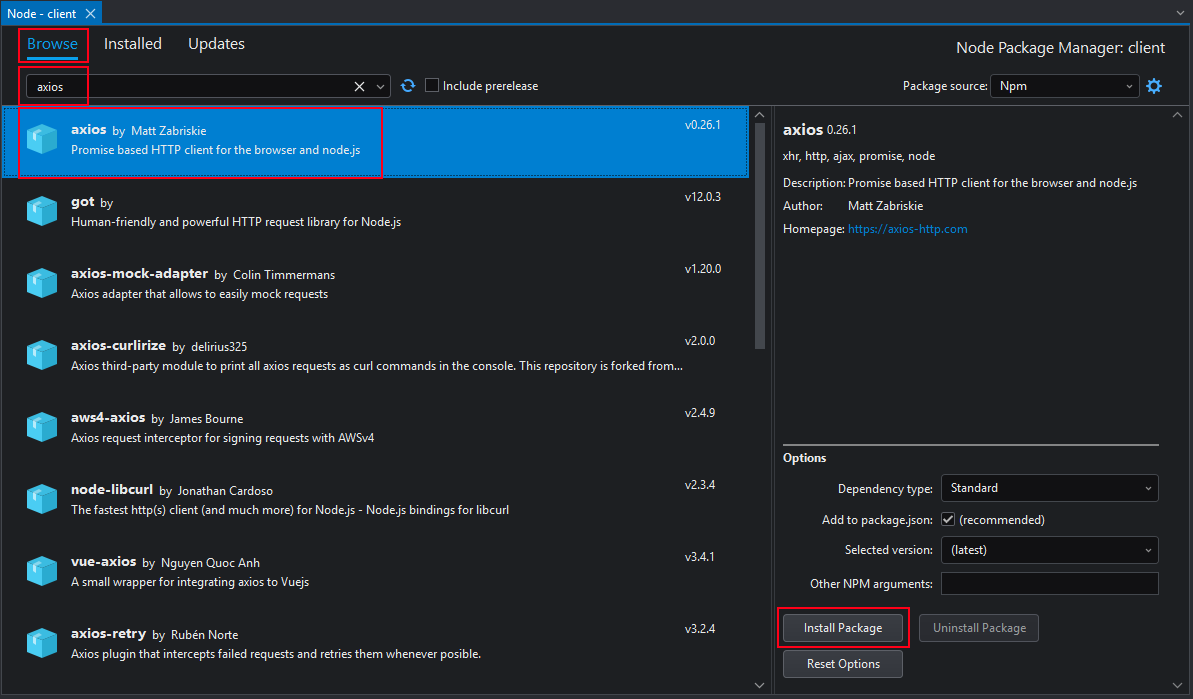
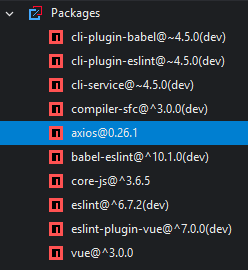
In the Node Package Manager, select the Browse tab, search for axios (axios is the recommended HTTP request library), then select axios from the list of search results, and click Install Package.
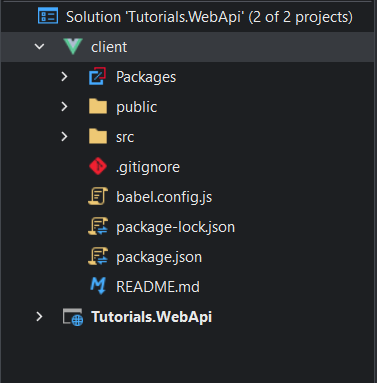
View the installation process and results in the Output window at the bottom of the IDE. Once installed you will see the axios package in the Installed tab of the Node Package Manager or under the Packages node in the Vue project.
Adding JavaScript files
Create a new folder in the src directory of the Vue project, assuming the name is api. Then add the following three JavaScript files to the folder (by right-clicking the api folder and select Add > New Item, and then select JavaScript File).
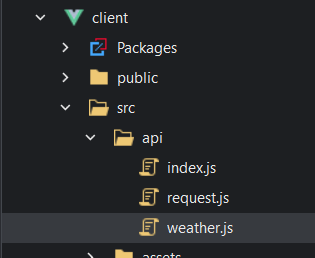
weather.js -- Encapsulates related Web API requests. The sample code for this file is:
import request from './request'

export default {
  async getWeatherForecastAsync() {
    const res = await request.get('/weatherforecast');

    return res.data;
  }
}
index.js -- Exposes the encapsulated Web API request module. The sample code for this file is:
import weather from './weather';

export default {
  weather
}
request.js -- Encapsulates an instance of the axios library. The sample code of the file is as follows:
baseURL should be modified to point to the URL of the Web API (the URL of the Web API can be obtained in the launchSettings.json file of the Web API project).
import axios from 'axios';

const service = axios.create({
  baseURL: 'https://localhost:7057',
  timeout: 216000,
  withCredentials: false,
});

export default service;
Modifying main.js file
Modify the main.js file of the Vue project to import the api module defined in the previous section and define global variables.
import { createApp } from 'vue'
import App from './App.vue'
import api from './api'

const app = createApp(App)

app.config.globalProperties.$api = api;

app.mount('#app')
Modifying the App.vue file
Modify the scripts under the template and script sections in the App.vue file of the Vue project as follows:
<template>
  <center>
    <button @click="getWeatherForecast">Get Weather Forecast</button>
	<table border="1" v-if="visible">
      <tr>
		<th>Date</th>
		<th>Summary</th>
		<th>Centigrade</th>
		<th>Fahrenheit</th>
      </tr>
	  <tr v-for="(item, index) in weathers" :key='index'>
		<td>{{ item.date }}</td>
        <td>{{ item.summary }}</td>
        <td>{{ item.temperatureC }}</td>
        <td>{{ item.temperatureF }}</td>
      </tr>
    </table>
  </center>
</template>

<script>
import { ref, getCurrentInstance } from "vue";

export default {
	setup() {
		const api = getCurrentInstance().appContext?.app.config.globalProperties.$api;

    const visible = ref(false);
    const weathers = ref([{}]);

    const getWeatherForecast = async () => {
			weathers.value = await api.weather.getWeatherForecastAsync();

      visible.value = true;
    }

    return {
      getWeatherForecast,
      weathers,
      visible
    }
  }
}
</script>
Modifying the Web API
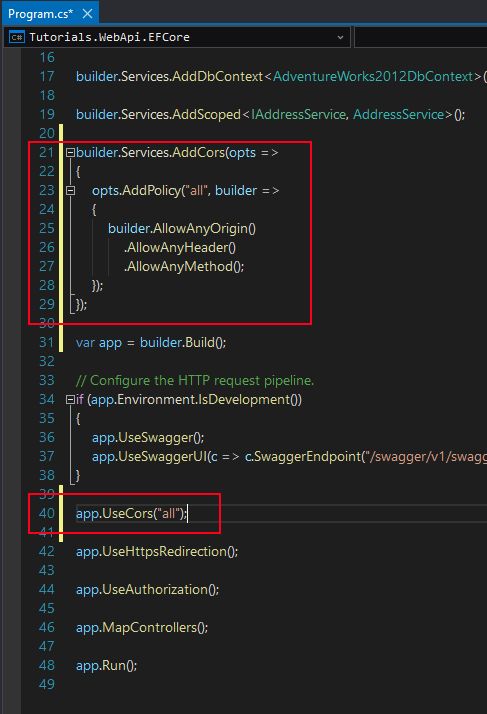
In order to ensure that the Web API can be called by JavaScript, we need to add two code segments to the Program.cs file of the Web API to solve the problem of cross-domain access.
Add the first code segment:
builder.Services.AddCors(opts =>
{
    opts.AddPolicy("all", builder =>
    {
        builder.AllowAnyOrigin()
            .AllowAnyHeader()
            .AllowAnyMethod();
    });
});
Add the second code segment:
app.UseCors("all");
Running the application
Now we can get the Web API and Vue application up and running and query the data.
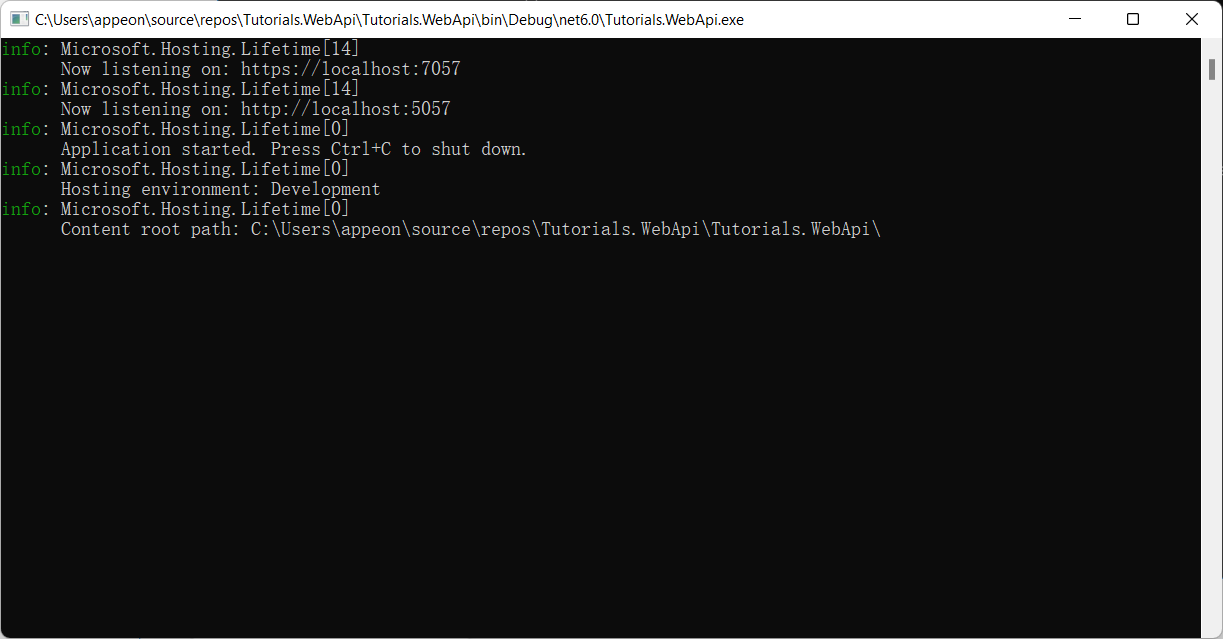
Step 1: Run the Web API (select the Web API project as the current project from the toolbar, then click the Start Without Debugging icon).

The Web API service starts.
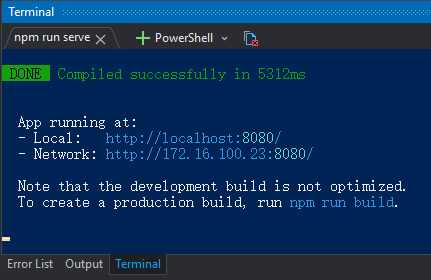
Step 2: Run the Vue project (select the Vue project as the current project from the toolbar, then select the npm run serve startup method from the drop-down list of the start icon).

The development server starts.
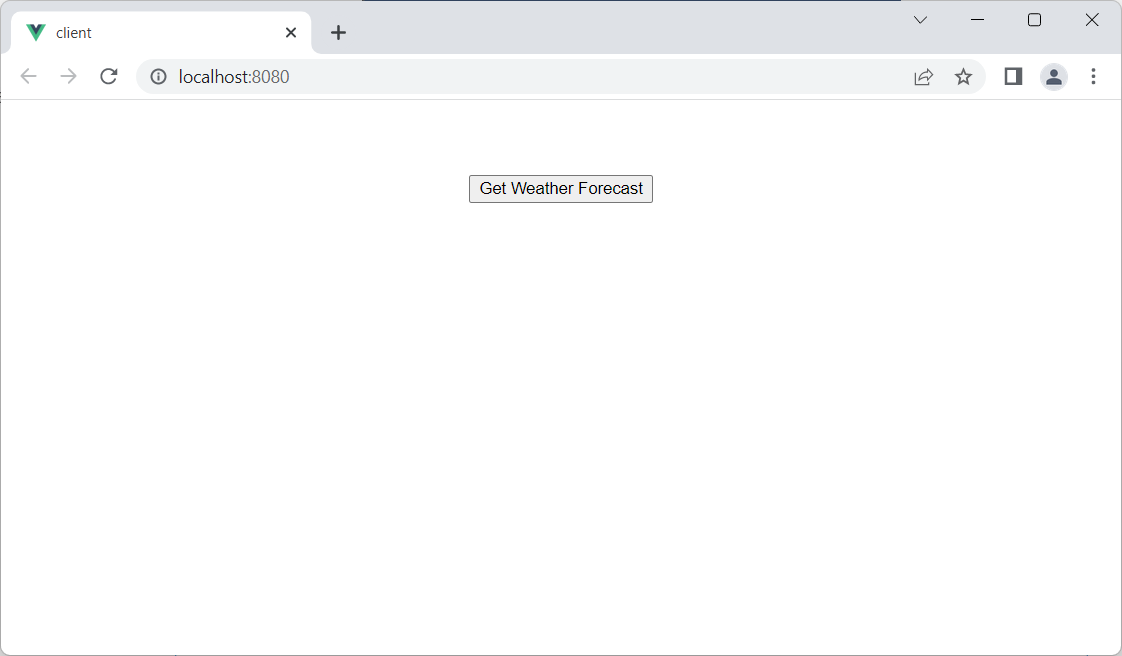
The web page is displayed.
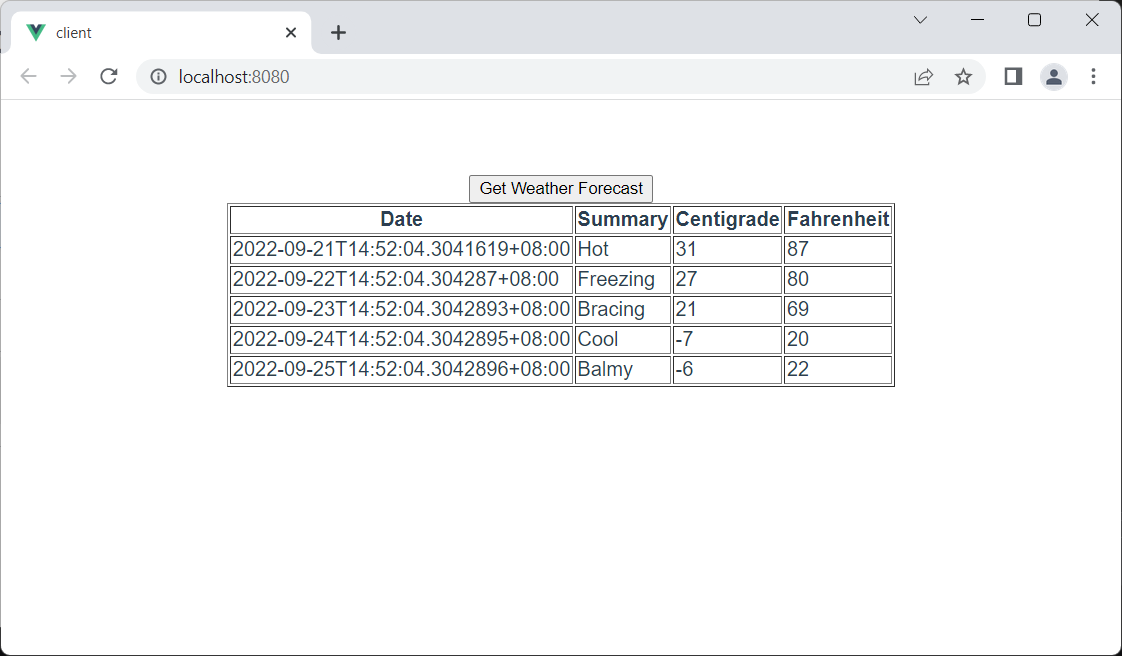
Step 3: Click Get Weather Forecast. The page will display the queried data.
Related topics
For Web API projects, you can also Manage NuGet Packages, Debug Web API, Configure Web API Project Properties, Publish Web API etc.
For the user manual of the Vue front-end application, please refer to Creating a Vue Application.